
User Guide
Everything you need — from sensor setup to reading your AI analysis — in one place.
One test is One lap
Start here
Watch the two short manuals first
Six minutes total. The sensor manual covers hardware; the app manual covers the software side. Watch both before your first session.
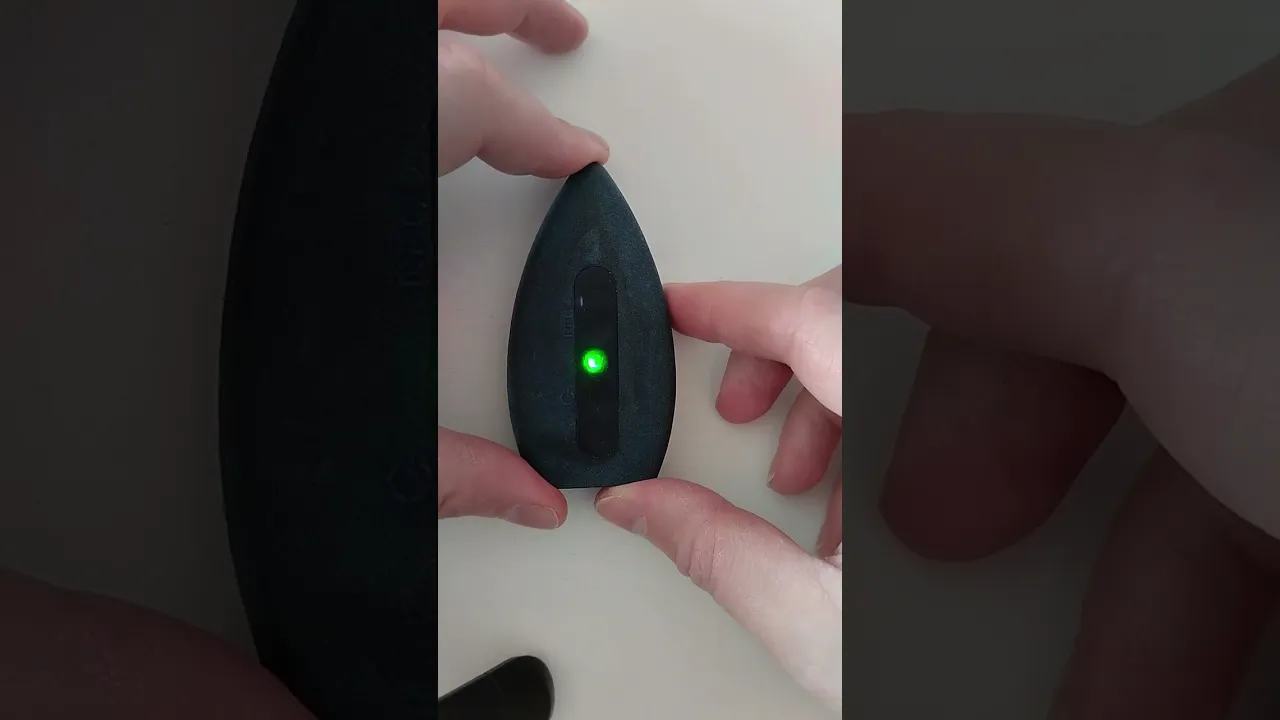
Sensor Manual
Hardware setup, LED modes & wearing the sensor
2 minutes
App Manual
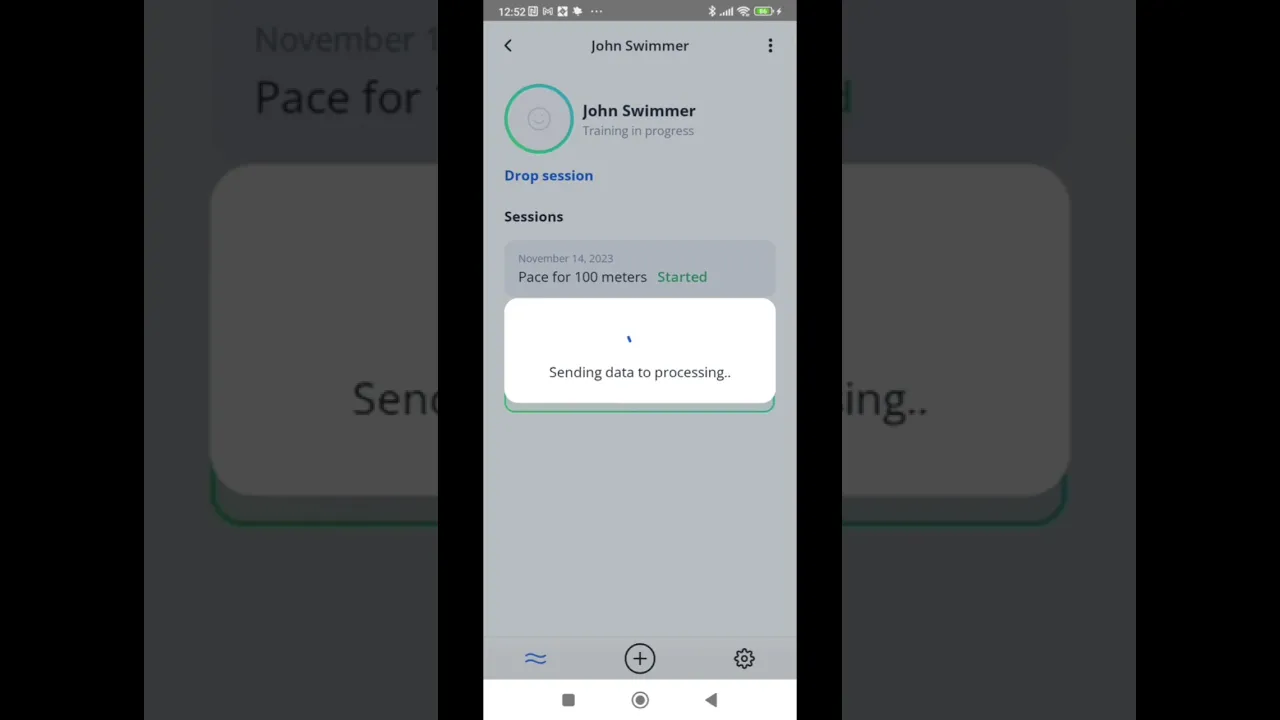
Creating a swimmer, starting a session & reading results
4 minutes
In the water
Running a test
Follow this sequence for every test lap. Consistency in start and finish gives the cleanest data.
1
Set the sensor to recording mode
Activate recording mode on the sensor before getting in the water. Then slide it into the belt with the LED facing outward (away from your body).
💡
The LED direction matters. Outward-facing ensures the sensor’s orientation data is captured correctly relative to your body.
2
Start from an upright position at the wall
Stand upright against the wall at the start end. This gives the sensor a clear baseline position before motion begins. Do not start mid-pool or mid-push-off.
3
Push off gently and glide 2 metres
Push off gently — not a race dive. Glide for approximately 2 metres before taking your first stroke. This gives the sensor time to stabilise and establishes a clean velocity baseline before stroke data begins.
⚠️
A hard push-off or starting your strokes immediately from the wall will distort the early stroke data. Keep it gentle.
4
Swim the lap and finish strong at the wall
Swim the lap at the intended pace and effort for this test. Finish strong — touch the opposite wall clearly and then stand upright. The end of the recording should be as clean as the start.
5
Turn off recording mode, then switch to Bluetooth
Once you’re at the wall: turn off recording mode on the sensor, then switch it to Bluetooth mode. The LED will change colour to indicate the switch. Now open the app to transfer your data.
💡
Do this while still at the wall — don’t swim back or step away first. The sooner you transfer, the faster you can start the next test.
See how it looks with professional and amateur swimmers:
In the app
Setting up and receiving your results
Run through these steps in the app before getting in the water. The app and sensor need to be paired and ready before you push off.
1
Create a swimmer profile
Tap New Swimmer and fill in the details. You only need to do this once per athlete — future sessions reuse the same profile.
2
Start a session and choose the pool size
Tap Start Session and select your pool length (25 m or 50 m). The pool size is used to calibrate the distance and velocity calculations — choose it carefully.
3
Write test notes
Enter any relevant context for this test: pace, breathing pattern, specific technique focus, where in the session this lap falls. Examples:
•
“After warm-up, 85% effort, breathing every 3”
•
“Post-set, fatigued, bilateral breathing test”
•
“Focus on left-arm catch mechanics”
📝
Good notes make comparisons between tests much more useful — especially when you’re testing the same swimmer across different conditions or sessions.
4
Press Start Training, then connect to the sensor
Tap Start Training. The app will search for the sensor (listed as Spor device in Bluetooth). Tap to connect. Once paired, the app is ready — the athlete can begin their test lap.
5
Receive the data and wait for the AI analysis
After the swimmer completes the lap and switches the sensor to Bluetooth, the app downloads the raw data and sends it for AI processing. Results typically arrive within a minute or two. The full analysis includes stroke-by-stroke metrics, graphs, and personalised drill recommendations.
⏱️
From push-off to results in your hands: 2–3 minutes in a 25 m pool. That’s fast enough to review between sets.
Charging
Keeping the sensor charged
The sensor charges wirelessly — no cables, no connectors to worry about.
📱
Use any 15 W wireless charger
The same charger as a modern smartphone
↔️
Place the sensor horizontally
Lay it flat on the charging pad — upright won’t work
📅
One week to two weeks per charge
Under active daily testing conditions
💡
Top up the sensor at the end of each training day — it takes only a few minutes and means you’ll never start a session with a low battery.
Testing Protocols
What to test and when
One test = one lap. Plan your testing around what question you’re trying to answer.
Start here
First session
–
Run 1–2 tests only
–
Focus on getting comfortable with the workflow
–
Easy pace, normal breathing
–
Review the results before adding complexity
Fatigue comparison
Fresh vs tired
–
Test 1 — after warm-up, before the main set
–
Test 2 — after the main set when the athlete is tired
–
Compare to see how technique changes under load
Breathing patterns
Breathing side test
–
Test 1 — breathing to preferred side
–
Test 2 — breathing to opposite side
–
Test 3 — bilateral (every 3)
–
Compare L/R symmetry across conditions
Speed levels
Pace ladder
–
Test at 70%, 85%, and 95% effort
–
See where technique breaks down with pace
–
Identify the optimal effort level
🎯
Start simple. Even a single test gives you more actionable data than you’d get from hours of video analysis. Build up to multi-condition protocols once you’re comfortable with the workflow and the metrics.
Ready to get in the water?
Pre-order MySwimEdge and start running tests in August. No subscriptions.
Unlimited laps.
Order — $850